Sustainable coconut ‘C’ lesson

In this post I will share with you how to make the following
-A coconut bowl
-Coconut milk
-Coconut flour
-Coconut oil
-Edit- We have since started filing the coconut fibres off the outside of the shell before draining and cutting it open which makes things a lot easier. -
On a coconut there are three dark spots, push on these to find the softest one. This is the one you want to pierce open to drain the water out. We just used a clean nail and hammer. Lacey helped hammer it open and then she shook the coconut water out.

Once the water is out you can score a line around the coconut where you’d like to saw it open.
We did two coconuts at once because we are going to be making a lot more things with coconut shells but you only need to have 1 coconut.
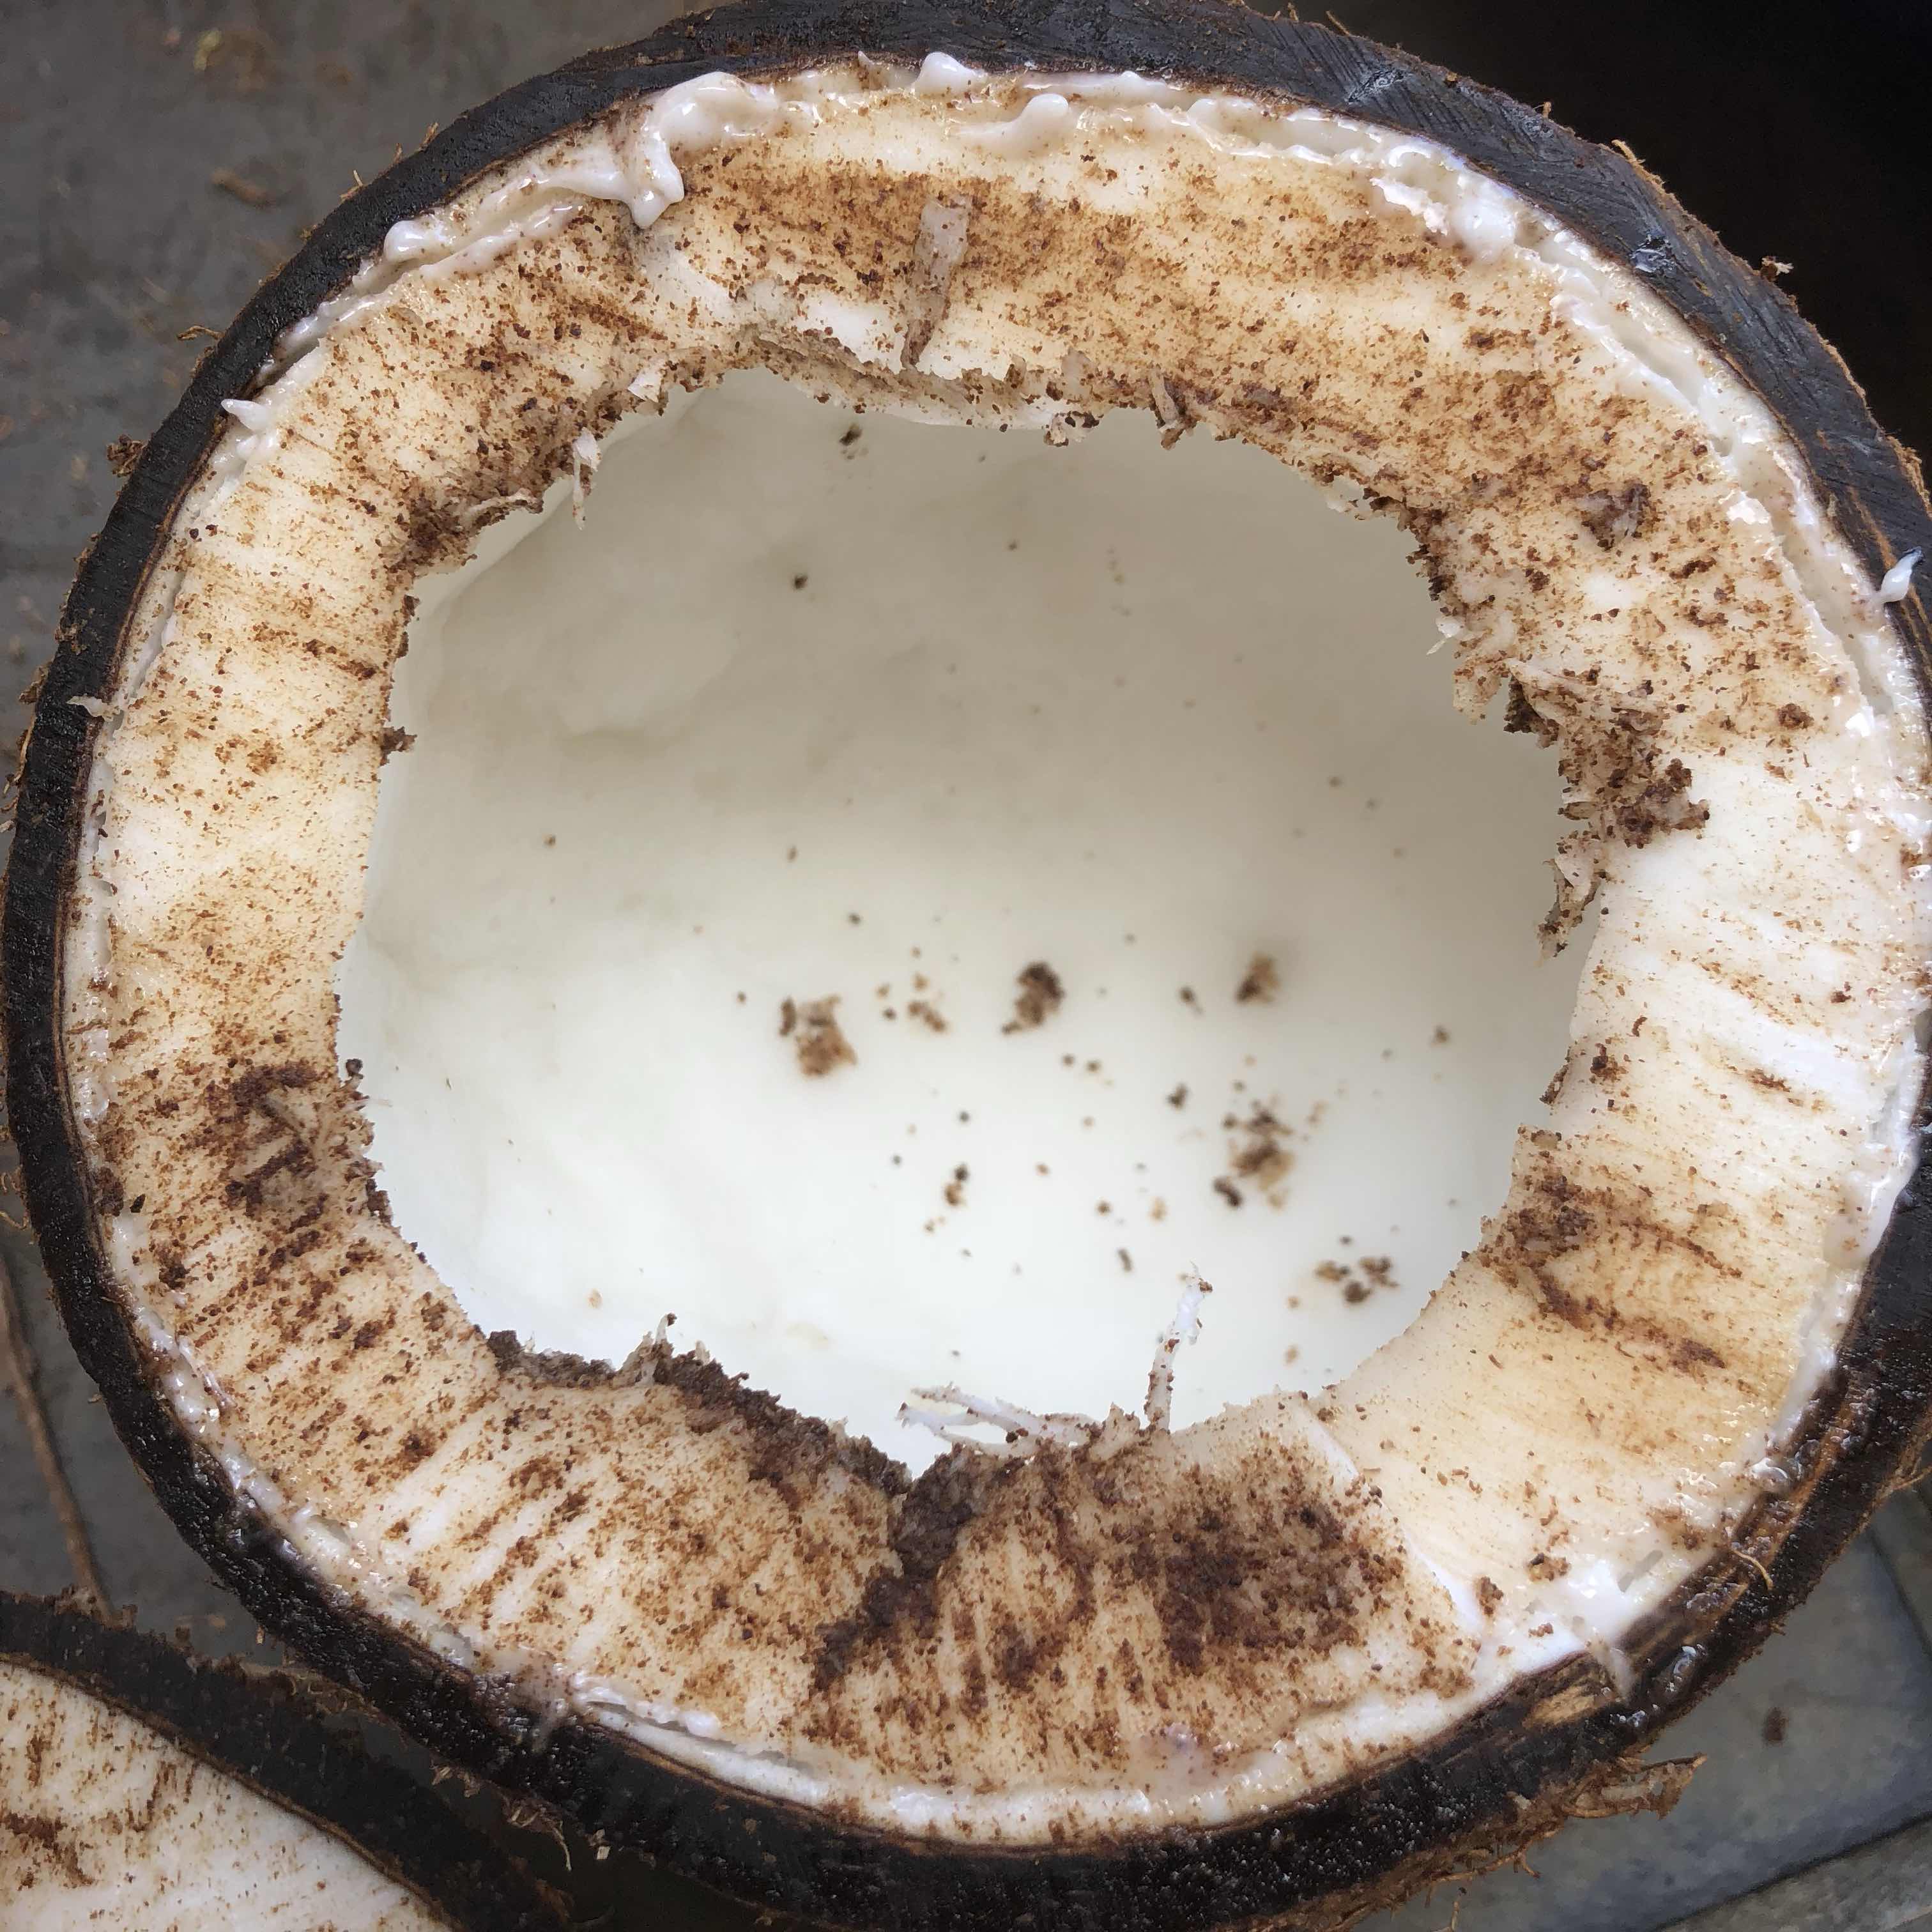
Once it’s open, it’s time to get the coconut meat out! I scored a line around the edge with a knife and then we scooped out the coconut meat into a large bowl with a spoon.

Once you’ve harvested all the coconut meat you can clean and cut it up into chunks (if you want to make coconut flakes as well you can peel/grate some off and pop them in the oven at a low heat until dehydrated). We ate some of the meat and used the rest to make coconut milk.
2 cups of water per 1 coconut. Add the water and chunks into a blender and blend for about 5-10minutes until there are no large chunks of coconut and it’s well mixed.

Once this is done you want to separate the liquid from the coconut pulp. We poured ours into a nut milk bag to drain and squeeze out as much liquid as possible.

Now keep that coconut pulp handy! We’ll come back to that in an a moment. 🥥
Now you have your fresh coconut milk. Lacey absolutely LOVED her coconut milk. Don’t drink it all though! Drink some and put the rest in the refrigerator overnight so the fats will rise to the top. This process will help you make coconut oil.


Now what do you do with all the left over coconut pulp? Well if you have a dehydrator you can use that otherwise you can do what I did and turn your oven on low! Next we lined a baking tray with baking/parchment paper and spread out the coconut pulp over the tray. Let this sit in your oven for a few hours, until it’s completely dry. Now we did leave ours in just a tad too long and it toasted but we still did the process to make flour regardless and didn’t throw it out (lesson learned for next time!) Once your pulp is ready, put it in a food processor and turn it into a finer powder.
NEXT day for your coconut oil.
You will see a thick layer of fat sitting on top of your coconut milk, scoop it out into a small saucepan on a very low heat, this is crucial to extracting your coconut oil. You want to let the water evaporate after the fat melts. As the water evaporates, it will start to look like curdled milk, which is exactly what you want. This is the oil separating from the solids. You can scoop the oil out into a small jar. Done! Lacey wanted to drink so much of her milk as she loved it so much that we weren’t able to extract a lot of coconut oil this time.

Onto our bowls, file off the coconut hairs and keep going filing (with the shape of the coconut!) until you are left with a clean finish. This can take a while.


Next is the inside of the shell. Using a rough grit sandpaper, sand away until you get a clean smooth finish on the inside. A little more than this.

Once it’s all filed and sanding inside and out, put your coconut shell flat down on a sheet of sandpaper and move it and in a circular motion as you press down to give the rim a clean finish. You can also sand away any sharp edges after this.
Next it’s time to oil the coconut bowl. You can use linseed oil, we just used coconut oil this time.


And your done! A fun and easy (just time consuming) hands on project to make a beautiful coconut bowl as well as sustainably using a coconut to create as much as possible. 😊🥥
If you make one, please tag me so I can see!
@deerandfawns on instagram or Deer and Fawns Education on Facebook
If you’re wondering what to do with the top, we are using our two to make a music instrument as when you clap them together they sound a bit like horse hooves galloping. 😊
-M ♻️🌏✌️


Comments
Post a Comment